Indoor Seed Starting Setup: 11 Steps From Shelf to Seedlings
An indoor seed starting setup is garden prep you do in a basement, a garage corner or a spare room before the yard is ready.
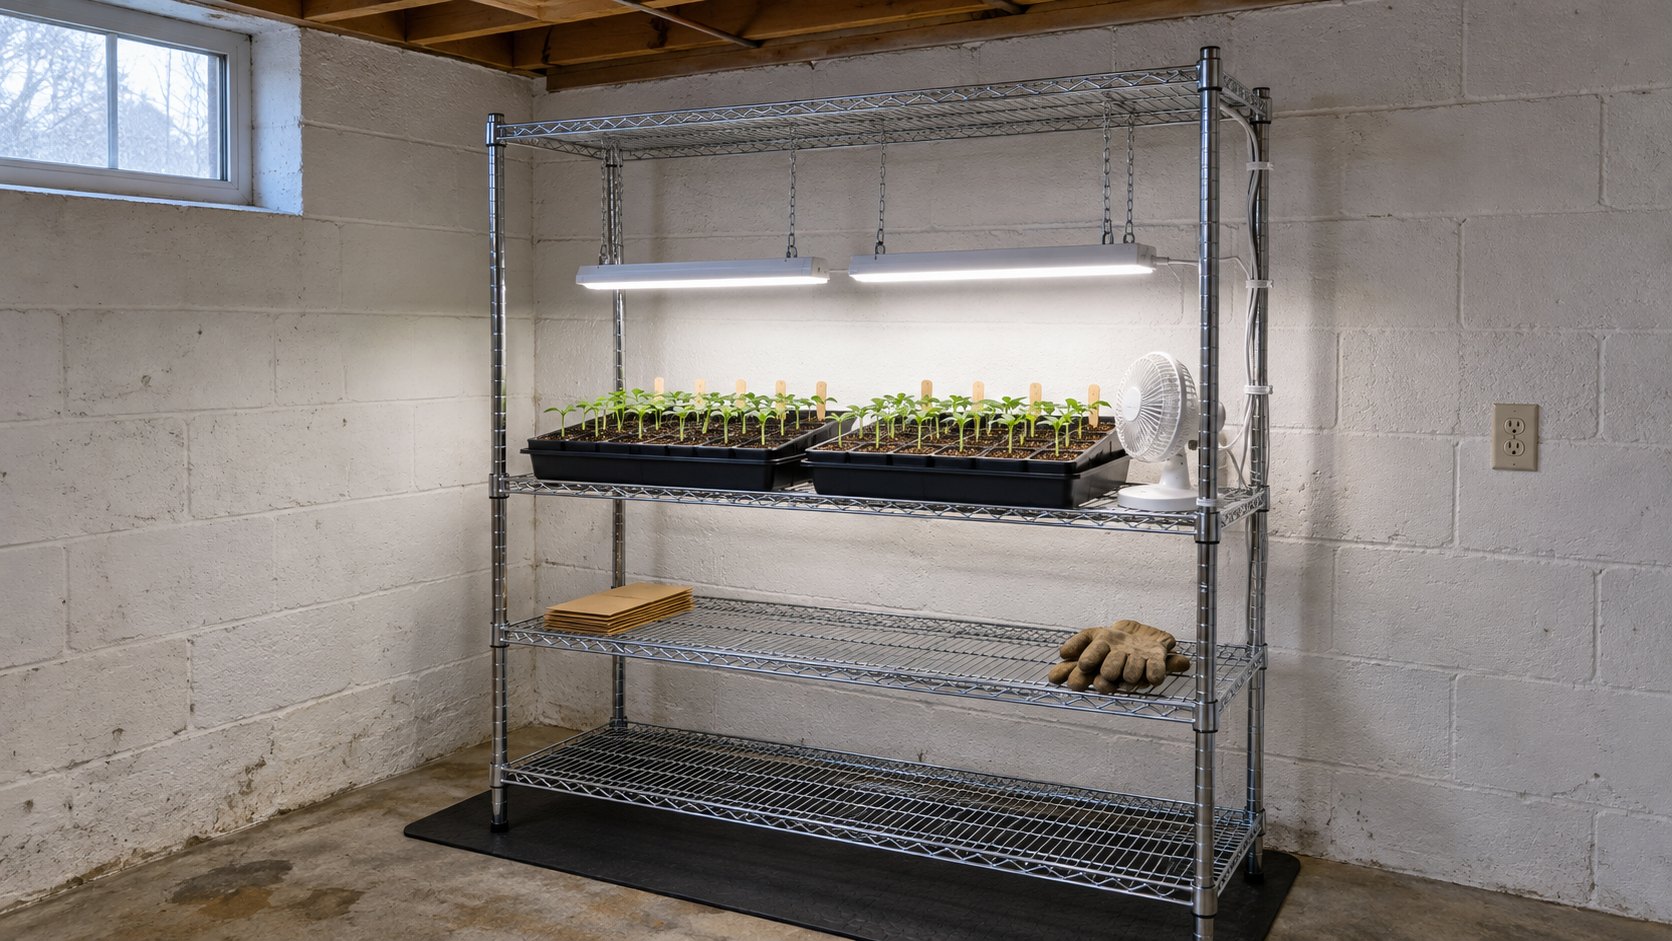
It comes down to a shelf, a light on chains, a timer and a few trays.
Here are the 11 steps, from a bare shelf to seedlings that can go outside.
Materials
- A sturdy shelf unit, wire or wood
- Shop-style LED or fluorescent grow lights, one for each shelf you will use
- Adjustable chains and hooks for hanging the lights
- A plug-in timer
- Seed trays or cell packs with drainage holes
- Solid bottom trays with no holes, one under each seed tray
- A clear humidity dome for each tray
- Sterile seed starting mix
- A small fan
- A waterproof mat or a boot tray for the floor
- Seeds in their packets
- Wooden sticks for marking rows
Tools
- A watering can or jug
- A tub or bucket for the mix
- A scoop or an old cup
- A pencil
- A calendar
1. Pick a Corner Near a Grounded Outlet
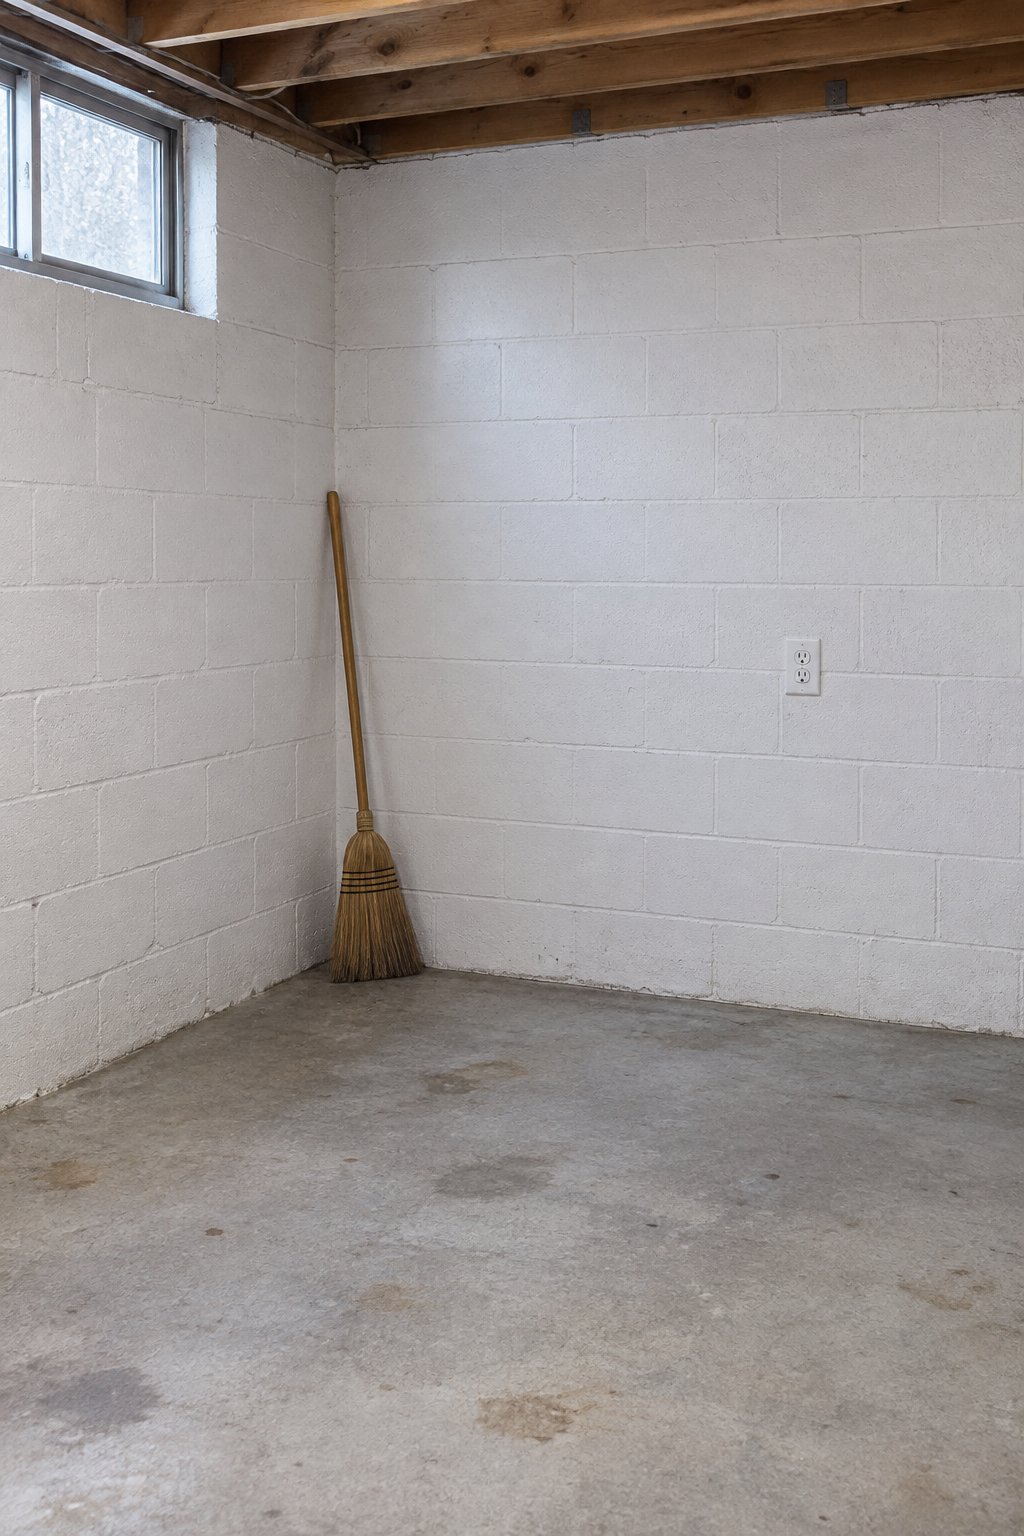
Seedlings don’t care how the room looks. A basement, a garage corner or a spare room works, as long as it has a grounded outlet and a floor that can take a spill.
Check a seed packet for the warmth the seeds need.
2. Stand the Shelf on a Waterproof Mat
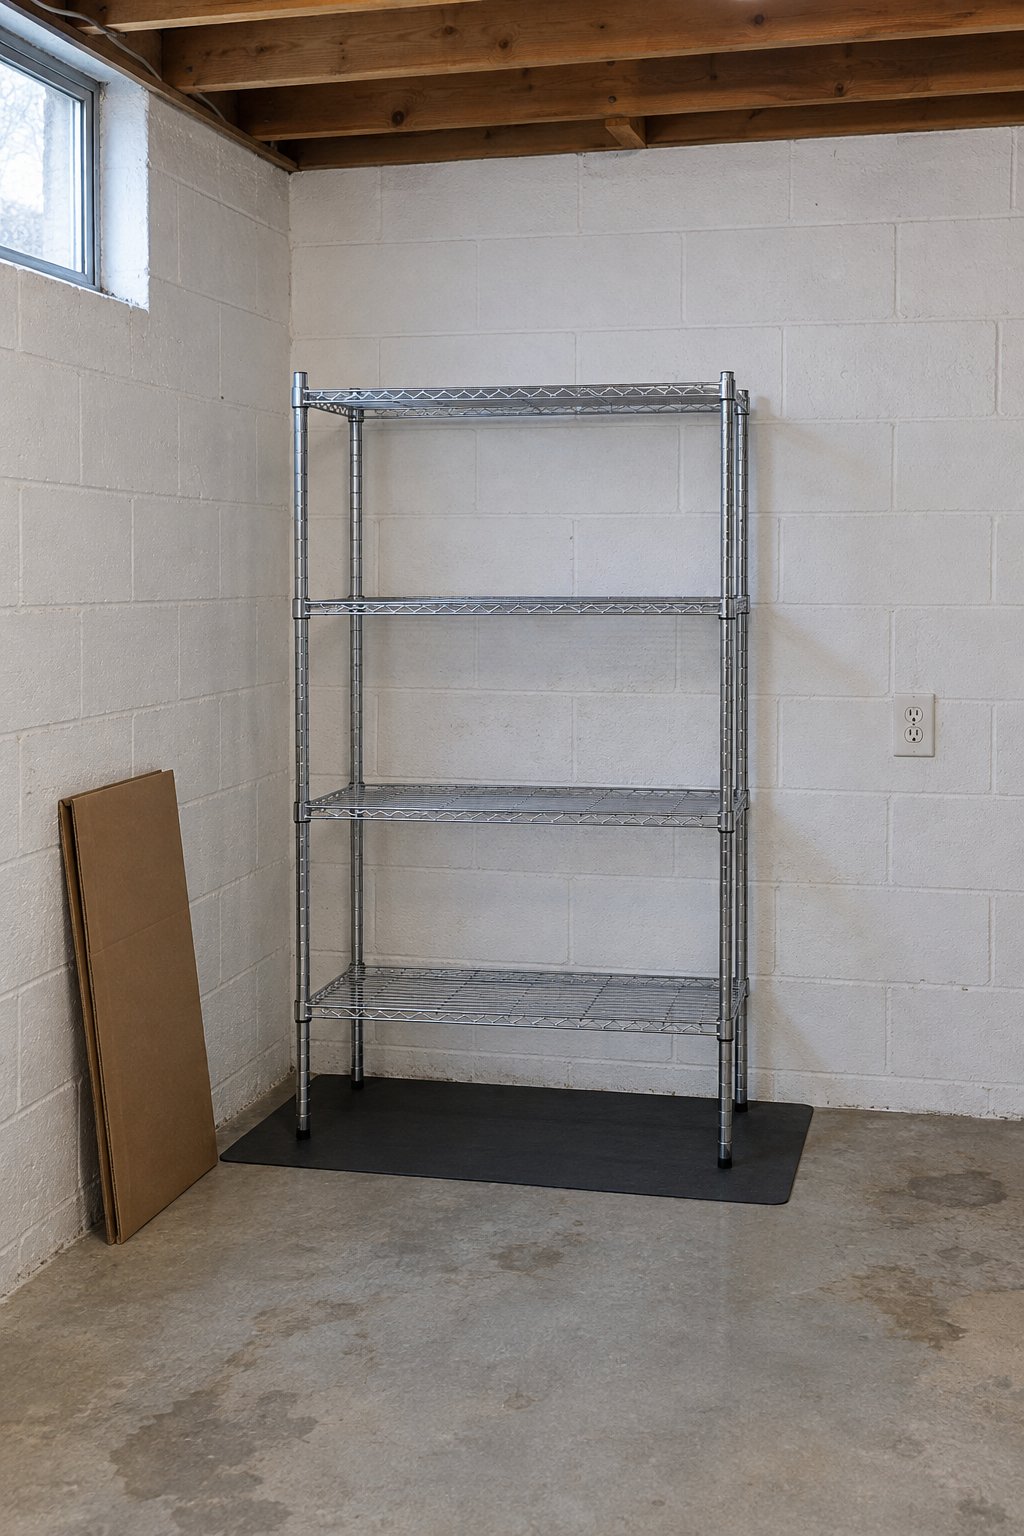
Lay a waterproof mat or a boot tray down first, then stand the shelf on it. Water gets past the trays sooner or later.
A plain wire or wooden shelf is enough, as long as it stands steady.
3. Hang the Lights on Adjustable Chains
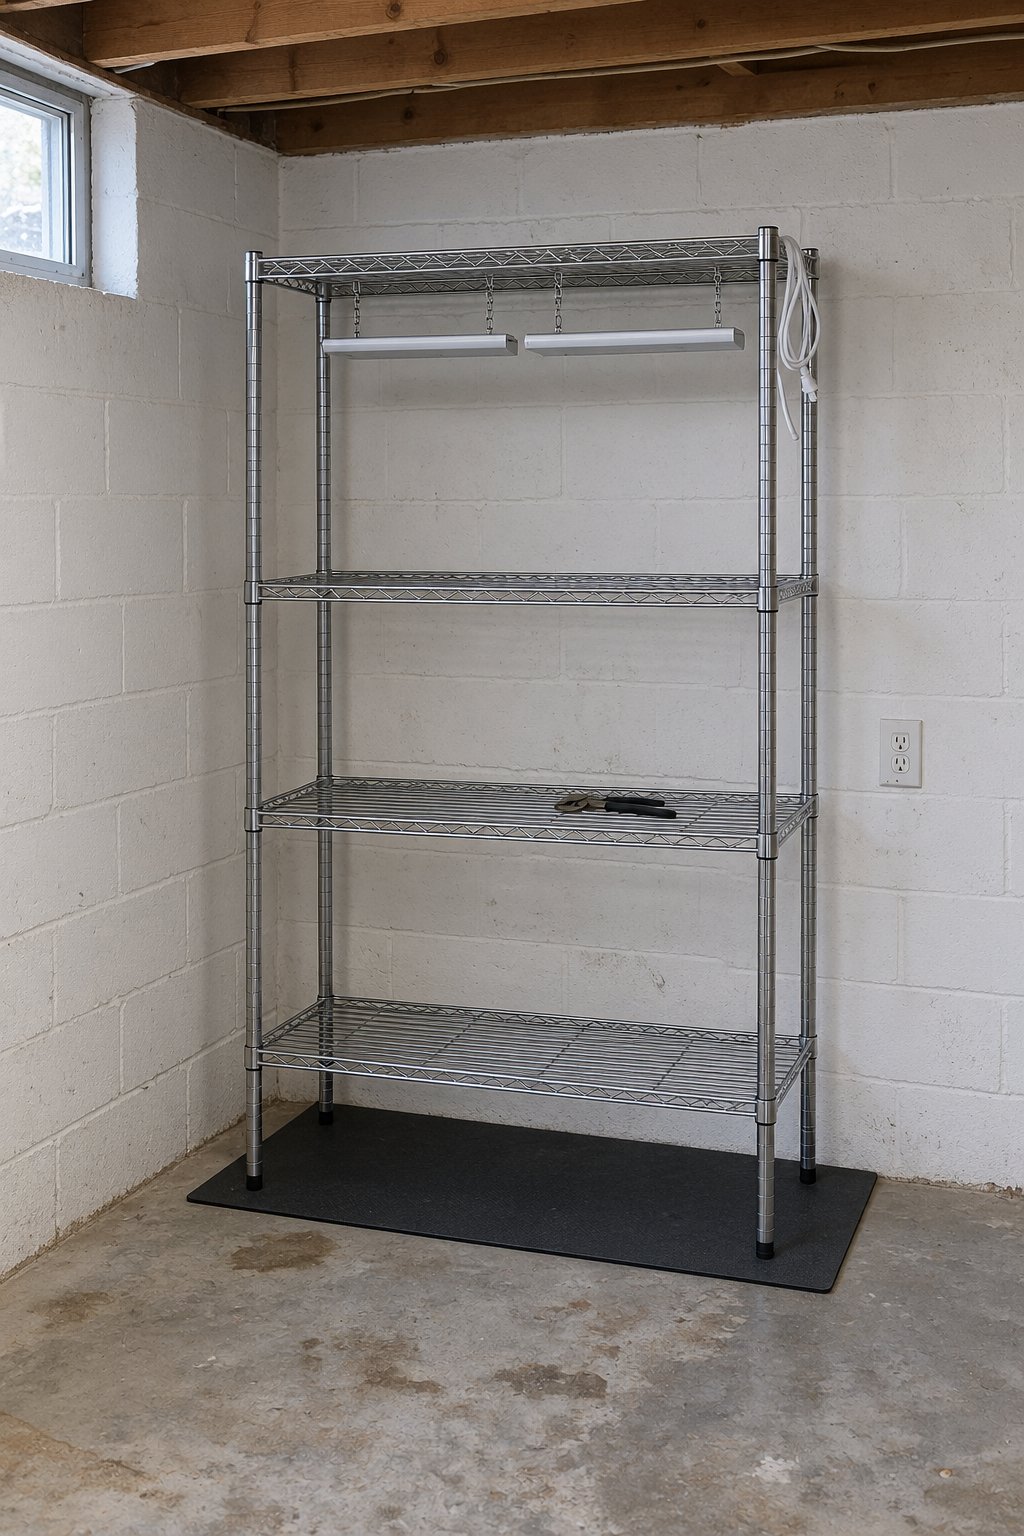
Hang a shop-style LED or fluorescent light above each shelf you’ll use, on chains you can shorten and lengthen. Follow the maker’s instructions for hanging it.
The chains matter as much as the light. It has to sit close above the seedlings and go up as they grow.
4. Put the Lights on a Timer
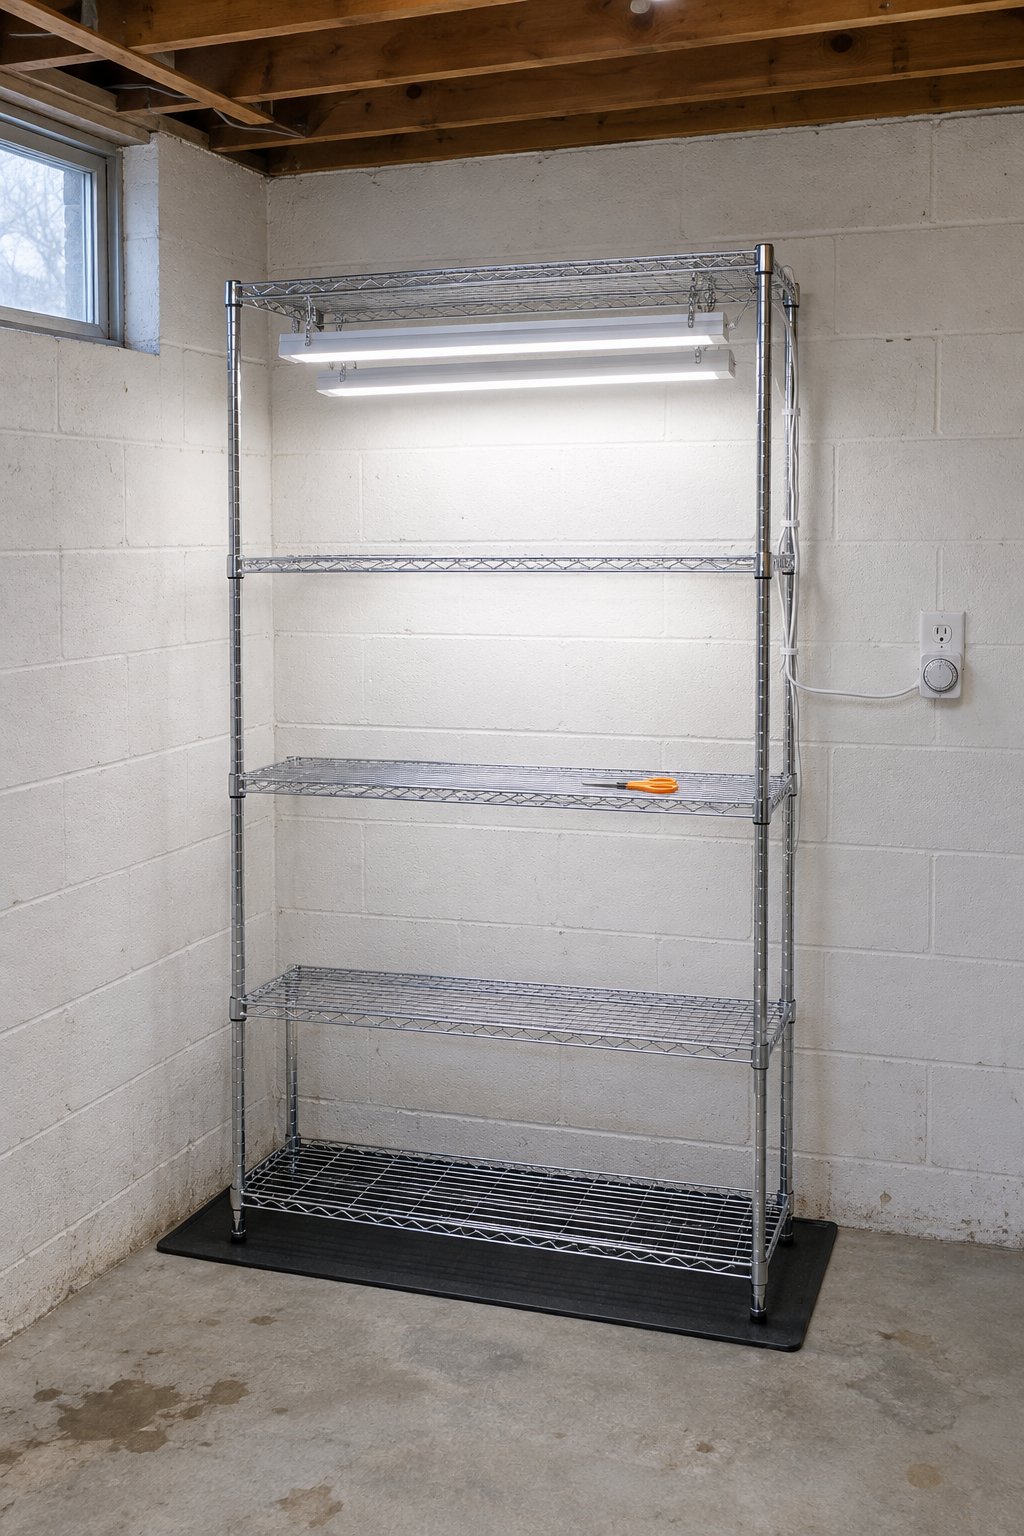
Plug the lights into a timer and the timer into the grounded outlet. Set it to run the lights for about 14 to 16 hours a day.
Keep every cord and power strip up off the floor and away from water.
5. Count Back From Your Last Frost Date
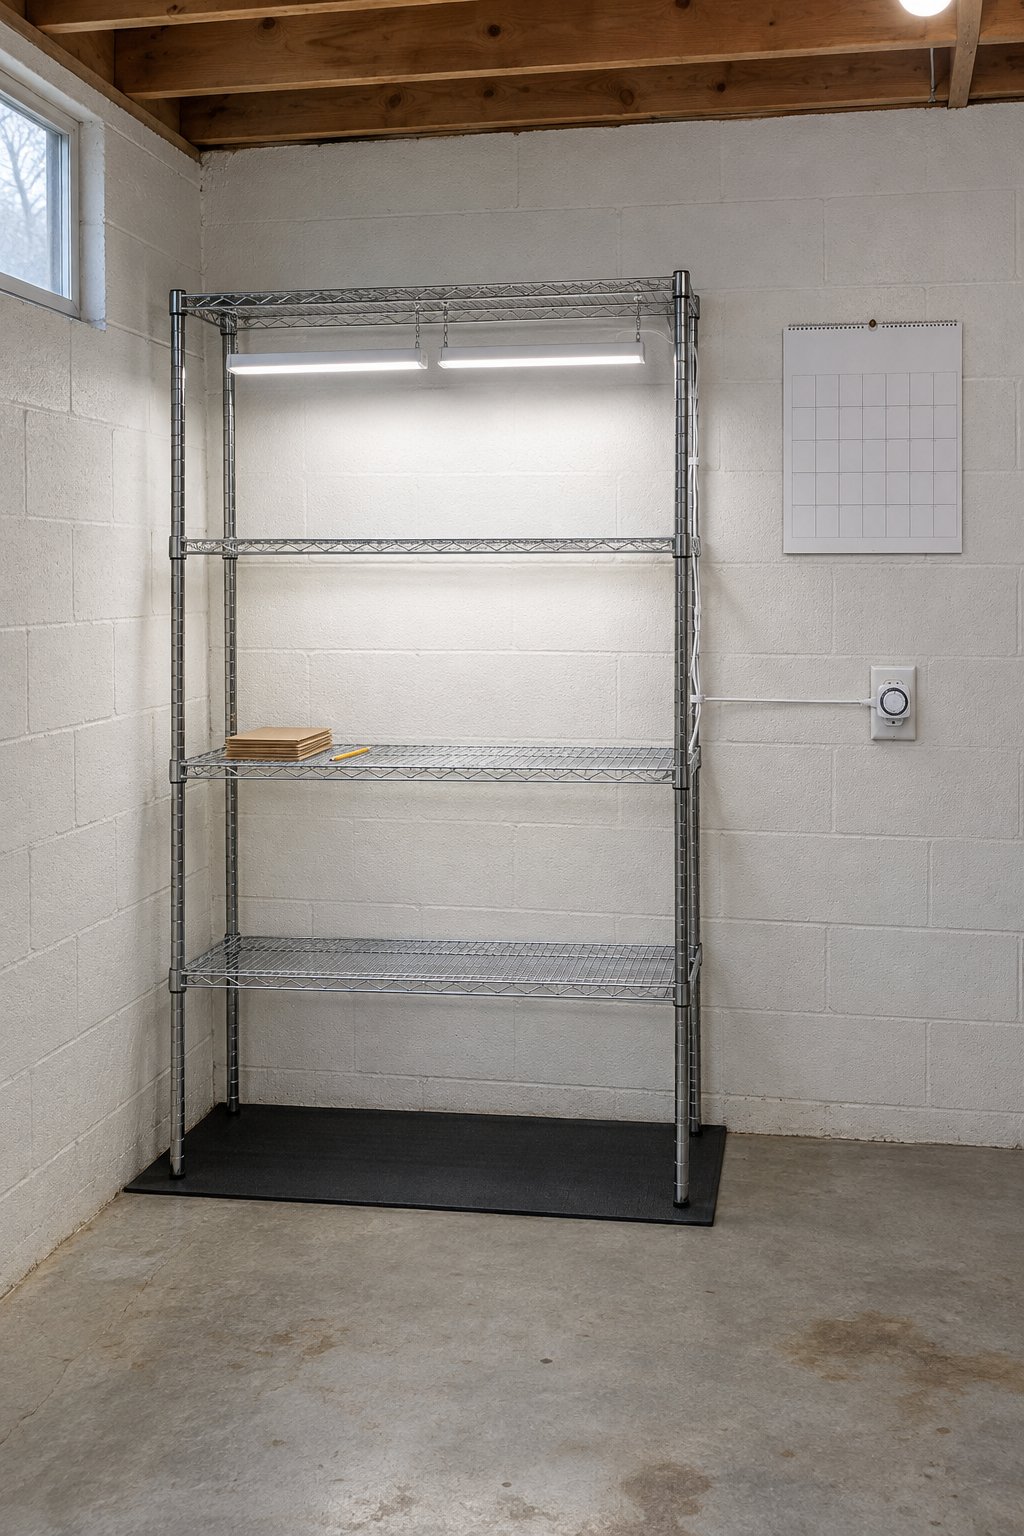
Ask your local extension office for the last spring frost date where you live. Then read each seed packet, which prints how many weeks before that date to sow indoors.
Count back on a calendar and write a sowing day for each crop.
6. Fill the Trays With Seed Starting Mix
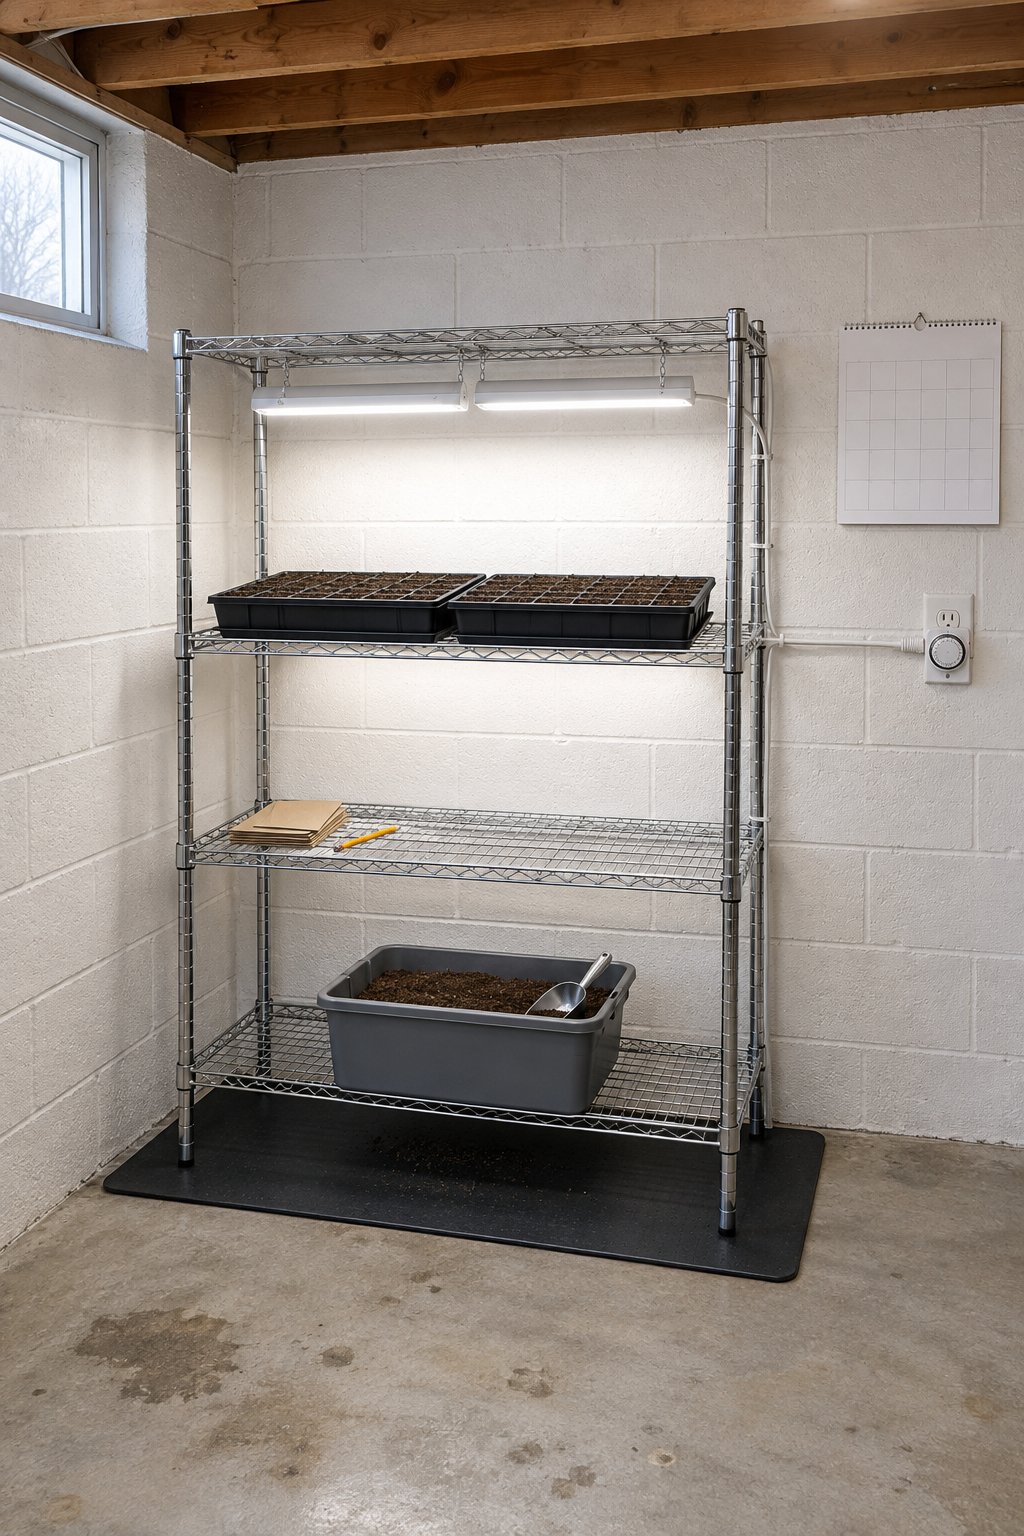
Use a sterile seed starting mix, not garden soil. Fill trays or cell packs that have drainage holes, and set each one inside a solid bottom tray.
The bottom tray is what keeps water on the shelf and off the floor.
7. Sow the Seeds and Mark the Rows
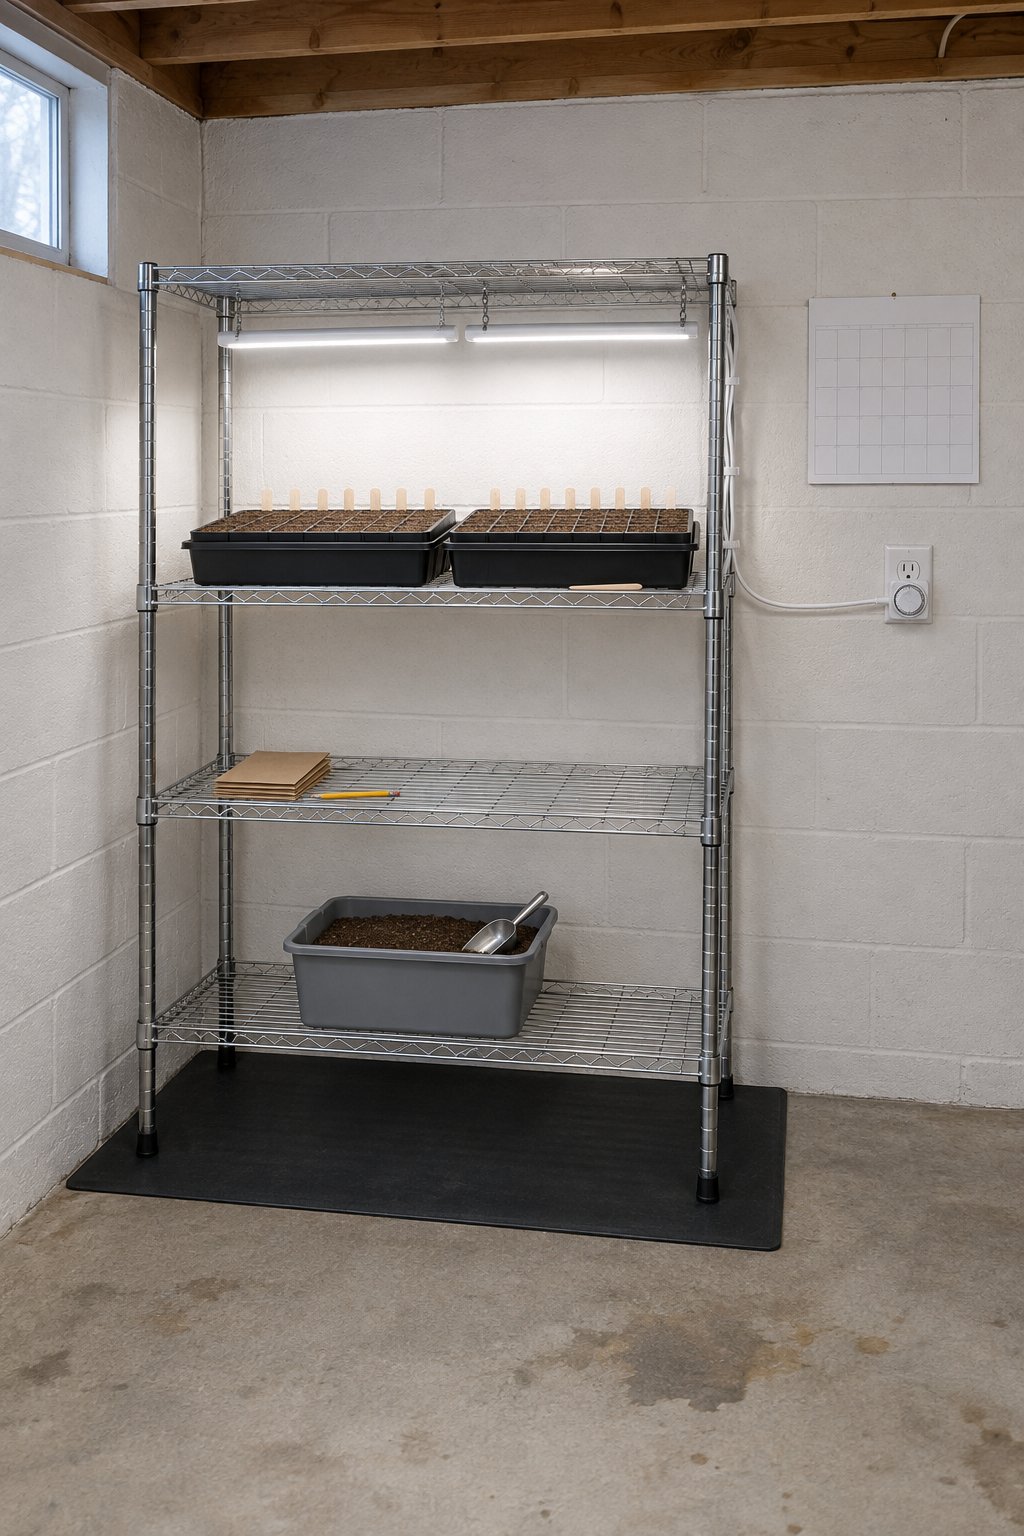
Sow at the depth printed on the packet. Tomatoes, peppers, basil, zinnias and marigolds are common first crops for a shelf like this.
Push a wooden stick into each row and pencil the crop on it as you go.
8. Water From the Bottom Tray
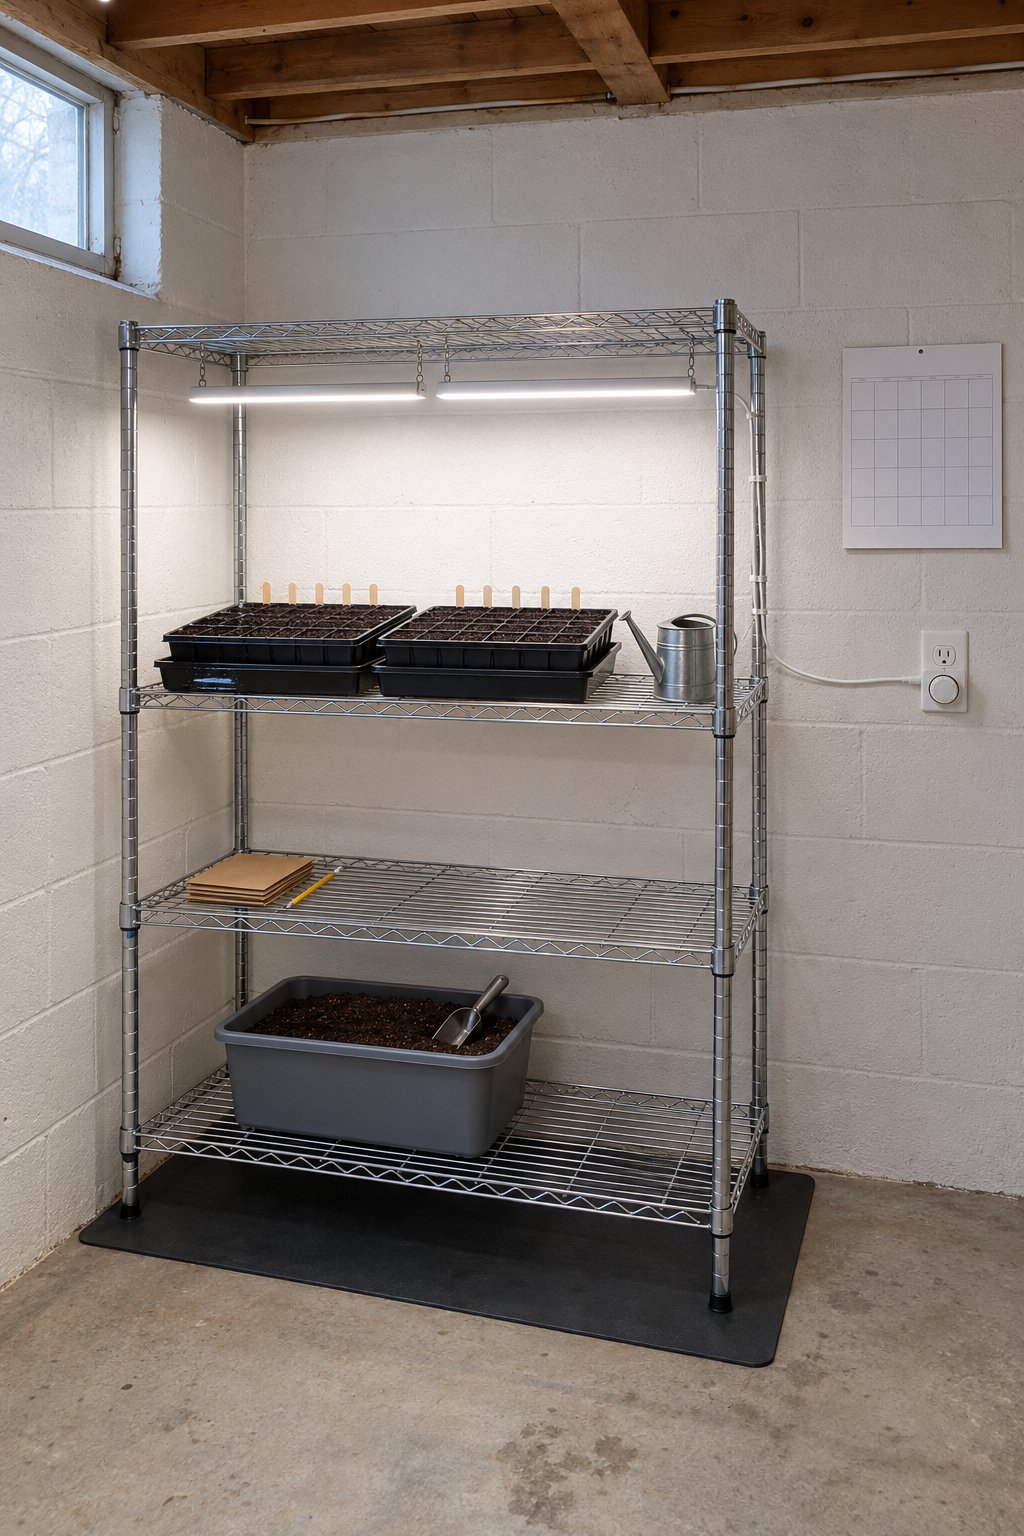
Pour water into the solid bottom tray and let the mix draw it up through the drainage holes. Watering from below leaves the surface and the seeds undisturbed.
Don’t let the trays sit in standing water. Tip out what is left.
9. Cover With the Dome, Then Lift It at the First Sprouts
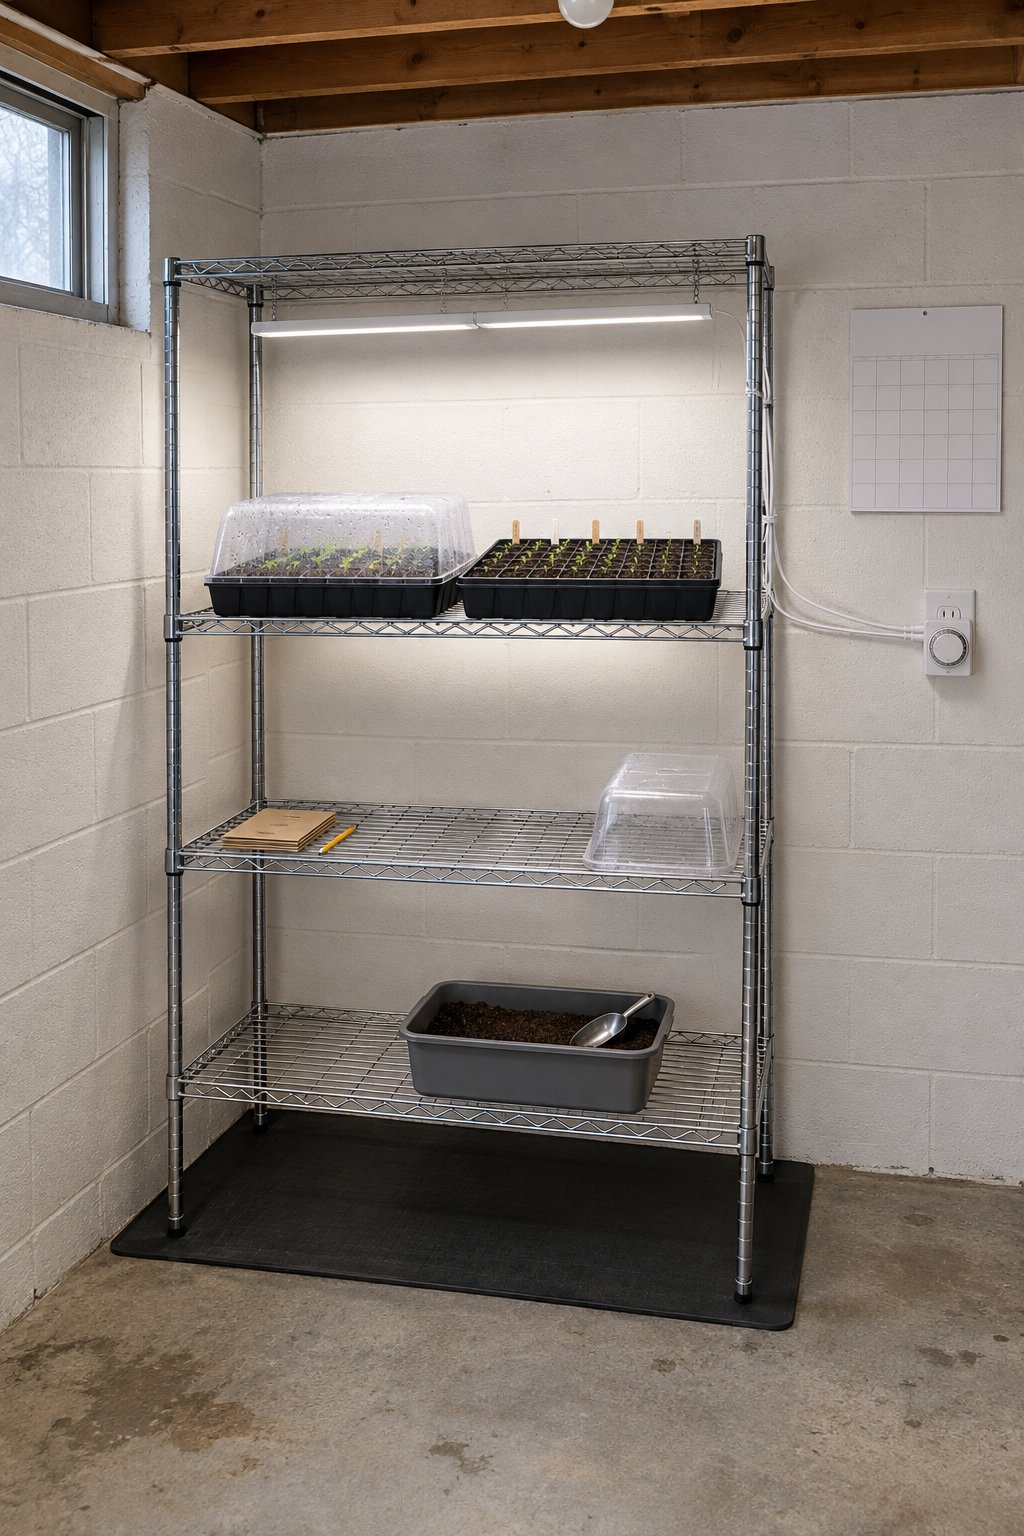
Set a clear humidity dome over each tray once it is sown and watered. It holds moisture in while the seeds get going.
Look in every day, and remove the dome once seeds sprout.
10. Lower the Lights and Start the Fan
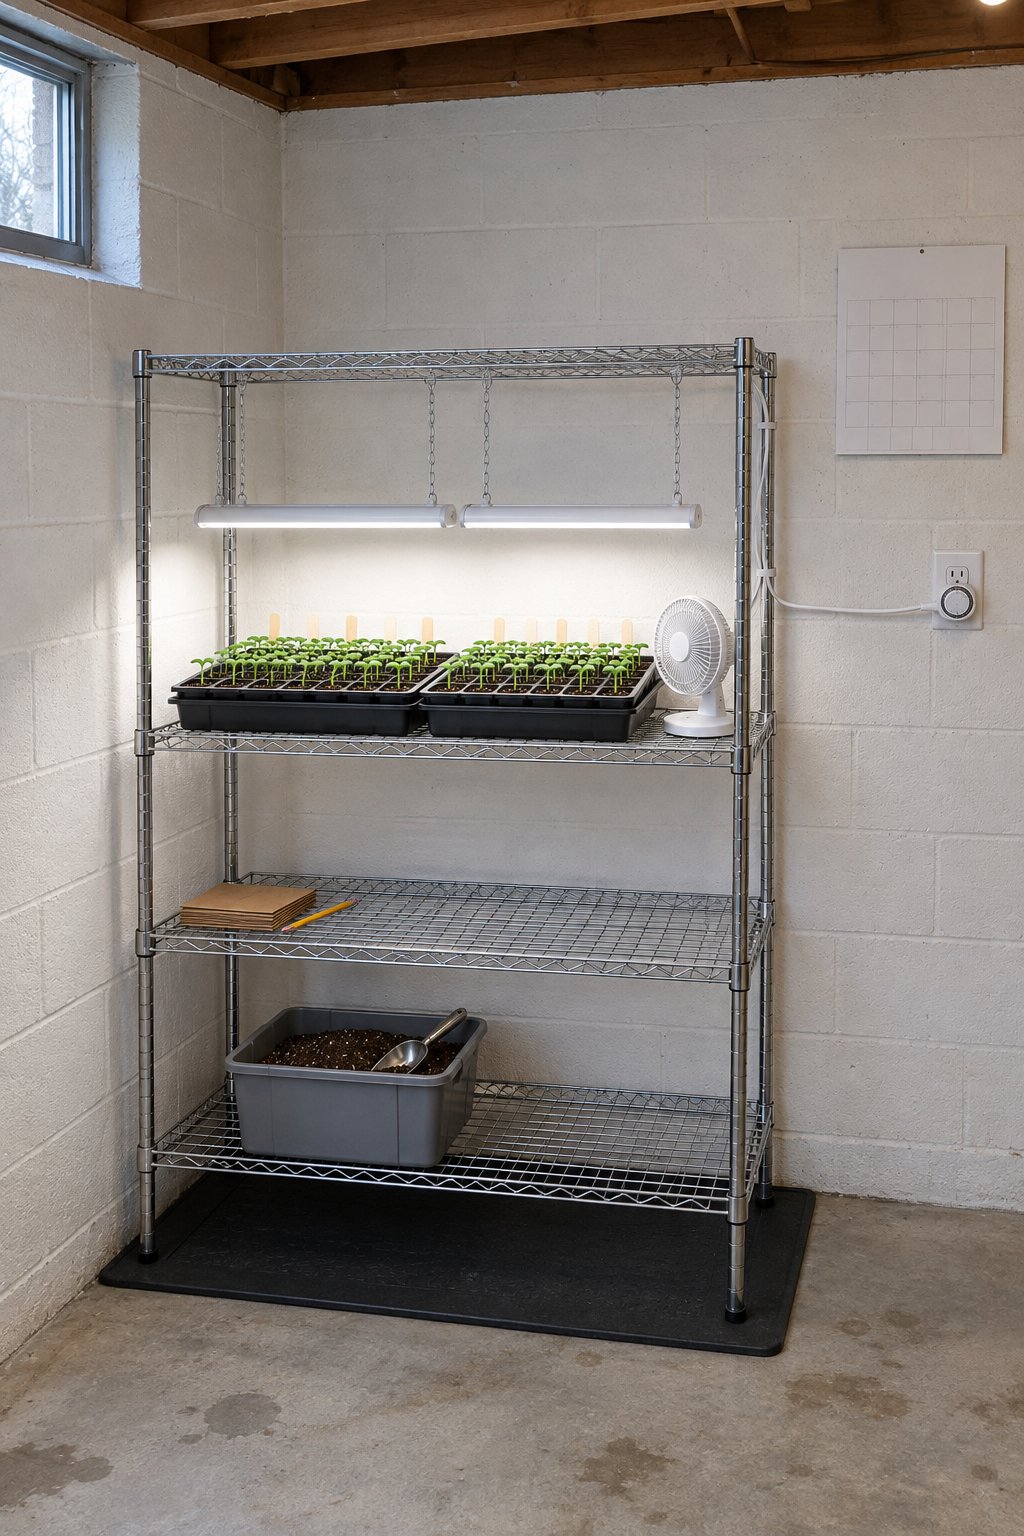
Once the dome is off, bring the lights down close above the seedlings. Raise them a chain link at a time as the plants grow.
Set a small fan to move air gently across the trays. Gentle movement makes sturdier stems.
11. Harden the Seedlings Off Outside
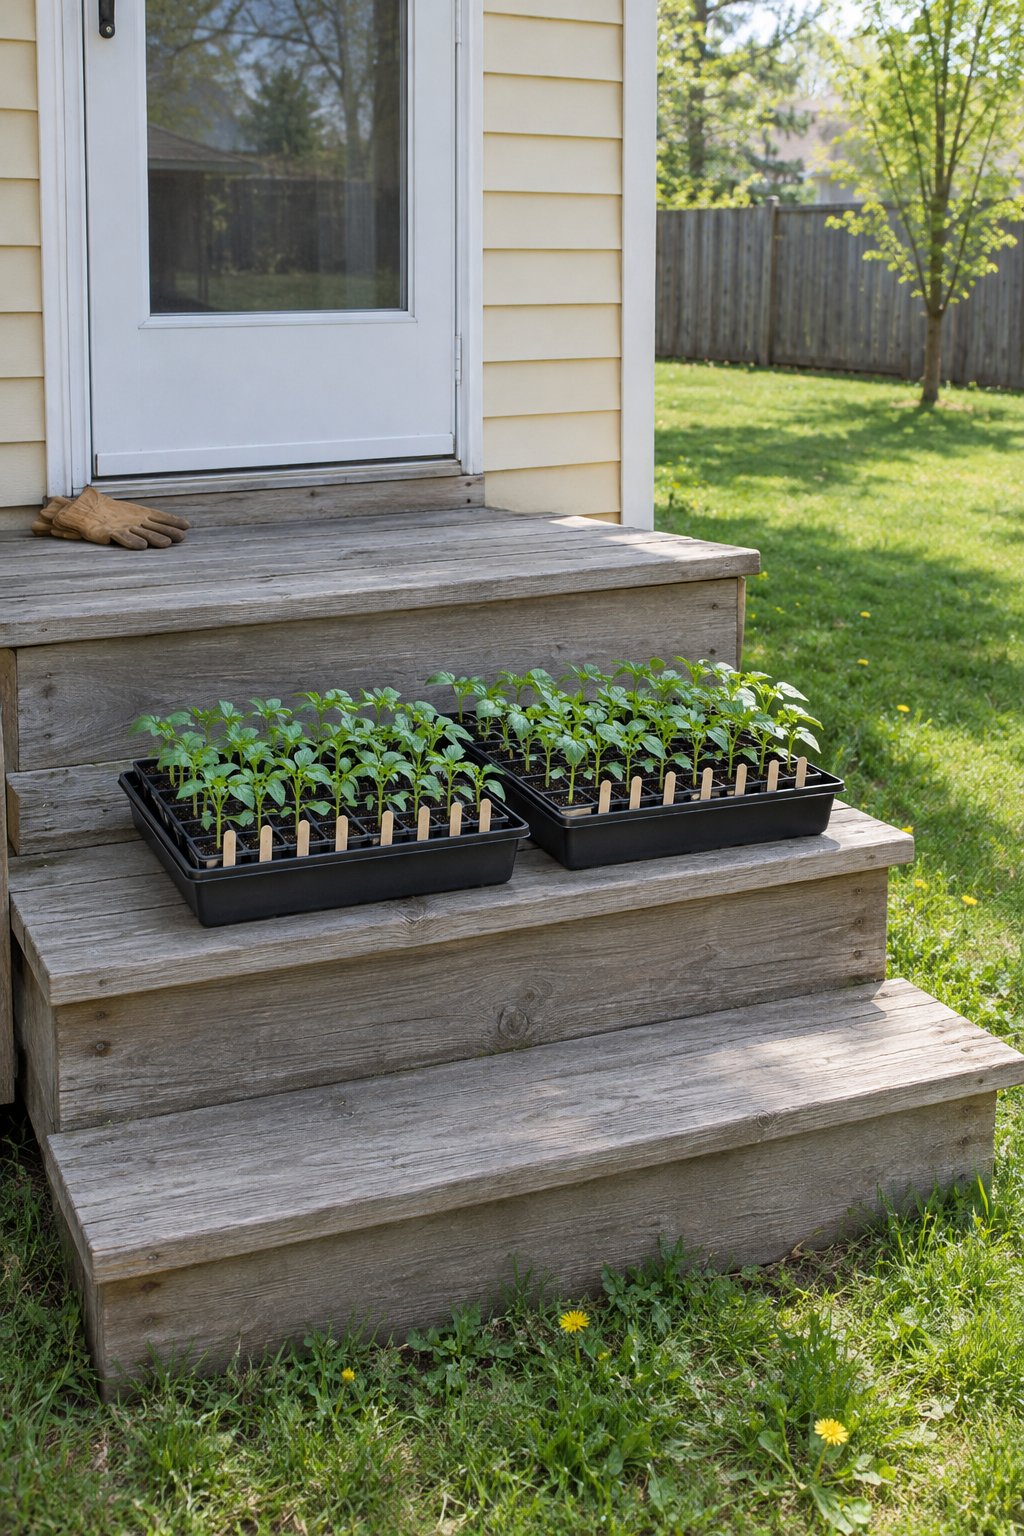
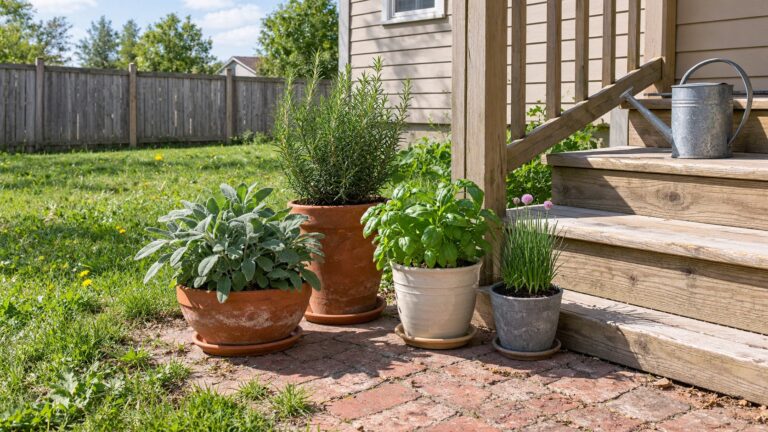
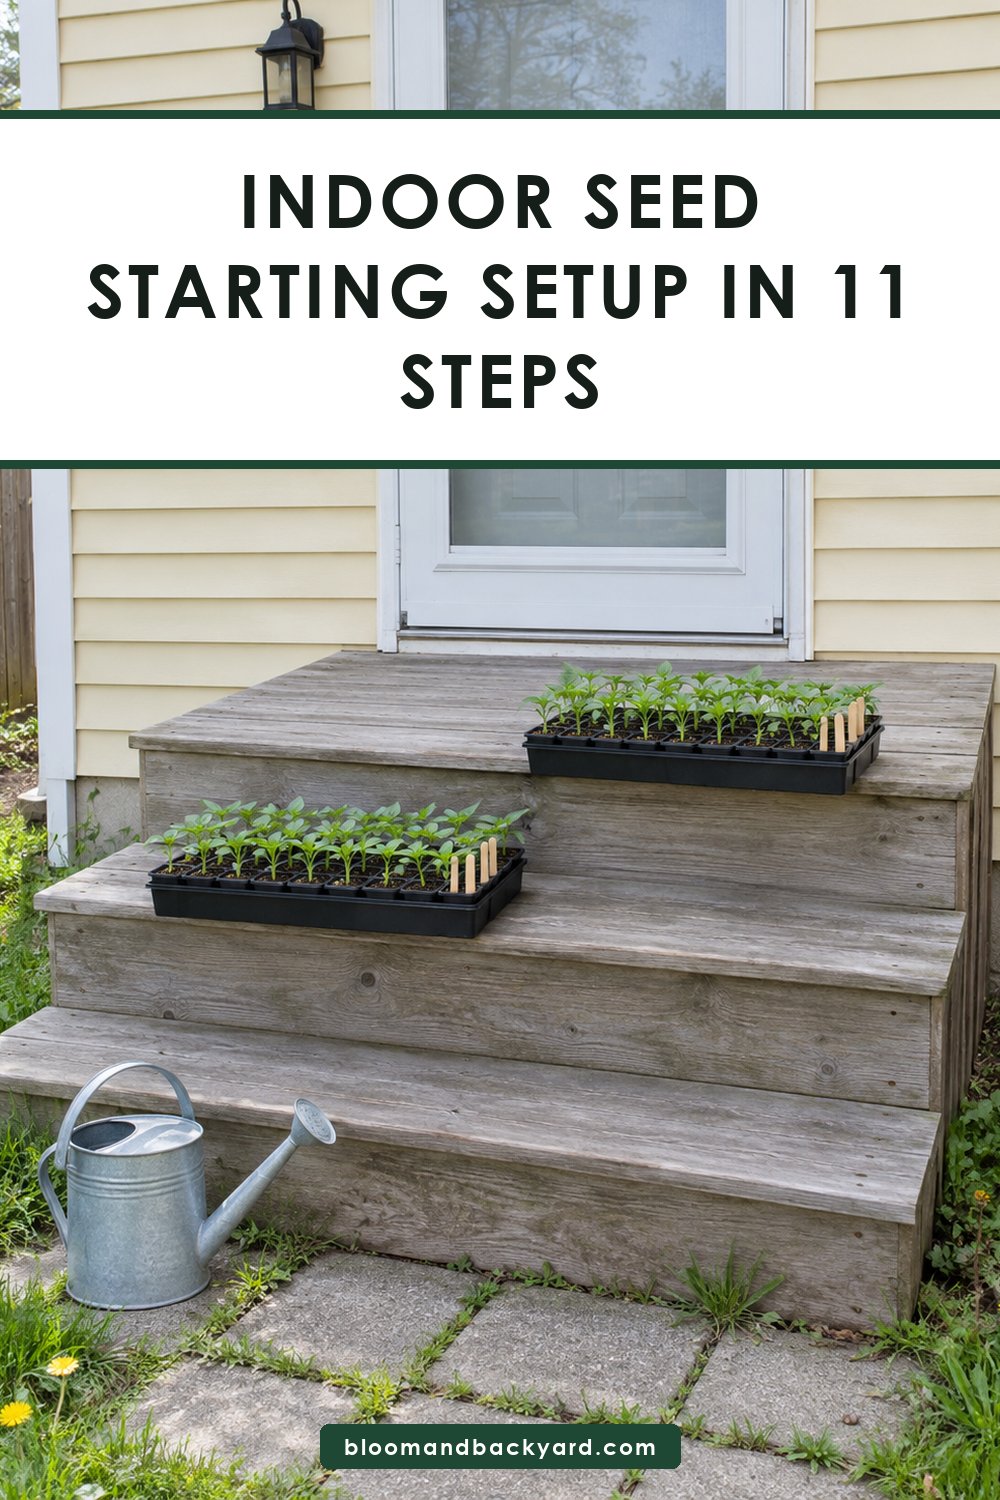
Before planting, set the trays outside for a little longer each day over one to two weeks. A porch step is a fine place to start.
This is hardening off, and it is the step that gets skipped.
Each Part of the Shelf and the One Rule It Follows
Six parts, six rules.
If a tray of seedlings is struggling, the cause is usually one of these.
| Part | Its job | The rule |
|---|---|---|
| Seed starting mix | Something clean for seeds to root into | Use a sterile seed starting mix, not garden soil |
| Trays | Hold the mix and let water through | Every container needs drainage holes |
| Bottom tray | Holds the water | Water from below, and don’t leave trays in standing water |
| Humidity dome | Holds moisture in until the seeds are up | Remove it once seeds sprout |
| Lights and timer | Stand in for the sun | Close above the seedlings, raised as they grow, about 14 to 16 hours a day |
| Fan | Moves air across the trays | Keep it gentle; moving air makes sturdier stems |
Plain Shelf or Nicer Shelf: Where the Spending Goes
Prices change by region and season, so this table compares choices, not totals.
The lights are the biggest line. Most of the rest can be borrowed from around the house.
| Item | Budget version | Nicer version |
|---|---|---|
| Shelf | A shelf you already own, cleared off | A wire shelf unit with shelves you can move up and down |
| Lights | One plain shop-style fixture over a single shelf | A shop-style LED fixture over every shelf |
| Timer | A simple plug-in timer with a dial | A digital plug-in timer |
| Trays | Nursery cell packs saved from last year, each with drainage holes | New cell trays with matching bottom trays and domes |
| Floor | An old boot tray | A waterproof mat sized to the shelf |
| Fan | A small desk fan you already own | A small clip-on fan fixed to the shelf frame |
Six Seed Shelf Habits That Cost You Seedlings
Garden soil scooped into the trays
Do thisUse a sterile seed starting mix, not garden soil. Save the garden soil for the garden.
Lights hung high and left there
Do thisKeep the lights close above the seedlings and raise them as the plants grow. Chains make that a quick job.
The dome left on after sprouting
Do thisRemove the humidity dome once seeds sprout. Look under it every day so you catch the first green.
Trays standing in water
Do thisWater into the bottom tray, let the mix draw it up, then tip out what is left. Trays should not sit in standing water.
A power strip on the floor
Do thisKeep cords and power strips up off the floor and away from water. Plug into a grounded outlet and follow the maker’s instructions.
Straight from the shelf into the bed
Do thisHarden seedlings off first. Set them outside for a little longer each day over one to two weeks before planting.
The Seed Packet Is the Schedule: Turn It Into Calendar Dates
Most of what a beginner looks up online is already printed on the back of the packet.
It gives the sowing depth and the number of weeks before your last spring frost to start that crop indoors.
So the packet is a schedule. All it is missing is your date.
Get your last spring frost date from your local extension office and mark it on a calendar. Then take each packet in turn, count back the weeks it prints and write the crop on that day.
I’d pin that calendar to the shelf. It tells you what to sow this weekend and what has to wait.
Start with the corner and the outlet, because everything else stands on those two.
Then get one shelf working with one light and two trays before you fill the whole unit.
A small seed starting setup run well grows more than a big one you can’t keep watered.
Frequently Asked Questions
How many hours a day should grow lights for seed starting stay on?
About 14 to 16 hours a day. Put the lights on a timer so it happens without you.
Can I use garden soil for seed starting indoors?
No. Use a sterile seed starting mix, not garden soil, in containers with drainage holes.
When does the humidity dome come off?
Remove it once seeds sprout. After that, bring the lights down close above the seedlings and start the fan.
When should I start seeds indoors?
Find your last spring frost date from your local extension office. Then count back the number of weeks printed on each seed packet.
How do I move seedlings from an indoor seed starting shelf to the garden?
Harden them off first. Set the trays outside for a little longer each day over one to two weeks before planting.
Save This For Later
Loved indoor seed starting setup? Save this pin to your Pinterest board now so you can find it again anytime you need the inspiration.